Prior to opening a new retail store, the POS cash register is the first hardware that must be operational and error-free. Many store owners assume installation involves merely plugging in a few cables, only to discover on opening morning that cash drawers fail to trigger, receipt printers fail to cut, and scanner guns show no response, triggering chaotic opening day delays.
Installing a POS system requires no complex engineering; following a methodical, step-by-step sequence ensures smooth commissioning within half a day. Below is a structured installation and setup tutorial. Because port layouts and software interfaces vary by hardware vendor, consult your product user manual for specific details.
Step 1: Unboxing and Hardware Inventory Audit
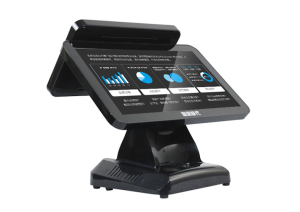
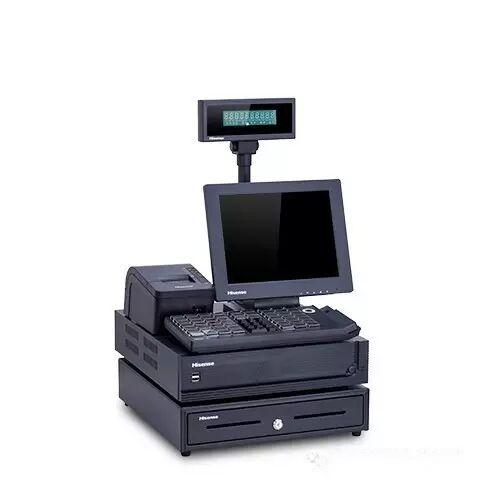
Before connecting cabling, unpack all hardware and audit items against the packing manifest: POS compute host (or all-in-one terminal), matrix keyboard, customer-facing pole display, thermal receipt printer, cash drawer with keys, barcode scanner gun with stand, power adapters, communication cables, driver media, and warranty documentation.
Carefully inspect physical enclosures for shipping dents and examine touchscreen glass for scratches. Document and photograph any physical damage immediately for supplier replacement before proceeding.
Step 2: Countertop Placement and Cable Planning
Checkout counter layout directly dictates cashier ergonomics and workflow efficiency.
Position the cash drawer directly beneath the POS host on the counter or recessed shelf. Place the cashier monitor and keyboard in the cashier’s natural reach. Position the thermal receipt printer adjacent to the cashier’s dominant hand for easy receipt handoffs. Position the barcode scanner gun in its countertop cradle, oriented toward incoming merchandise flow. Mount the customer-facing display at an unobstructed sightline toward approaching shoppers.
Ensure counter cable grommets are clear, routing power and communication leads beneath the counter to prevent messy tangles and accidental tripping.
Step 3: Hardware Peripheral Wiring and Cable Connections
Important Safety Rule: Ensure the main power switch on the POS host is powered OFF before connecting peripherals.
1. Connecting Matrix Keyboard: Plug the keyboard cable into designated USB or PS/2 ports on the host rear panel.
2. Connecting Barcode Scanner: Connect the scanner USB cable to a rear USB port, seating it in its countertop cradle.
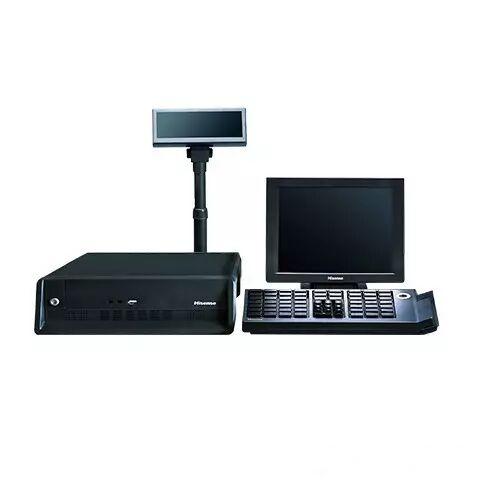
3. Connecting Thermal Receipt Printer: Connect the printer USB or serial communication cable to the host, and plug in the printer DC power adapter.
4. Connecting Cash Drawer: Plug the modular RJ11/RJ12 drawer kick cable into the dedicated ‘DK’ port located on the back of the thermal printer. (The printer sends the 24V pulse that triggers the drawer open).
5. Connecting Customer Display: Connect the customer pole display USB or RS232 COM cable to the host rear panel.
6. Network and Main Power: Plug in the Cat6 RJ45 Ethernet network cable to the host LAN port, connect the host DC power brick to the rear power receptacle, and plug all power bricks into a dedicated surge-protected AC power strip.
Step 4: Initial System Boot and Peripheral Testing
Power on the AC power strip, then press the power switch on the POS host, receipt printer, and external peripherals.
Observe host boot-up sequence into Windows or Android desktop. Test peripheral communication:
Load a thermal paper roll into the printer, verifying thermal coating faces the print head, and press the Feed button to verify smooth feeding and clean paper cutting.
Scan a standard product barcode with the scanner gun; the scanner should emit an audible confirmation beep, and scanned digits should populate into a test notepad document.
Test cash drawer physical keys, unlocking the drawer and verifying smooth spring-loaded ejection.
Step 5: POS Software Configuration and Database Archiving
Launch the installed commercial POS software, logging in with default administrator credentials.
1. Master Settings: Enter store name, contact info, exact system date and time, and customize receipt header/footer messages.
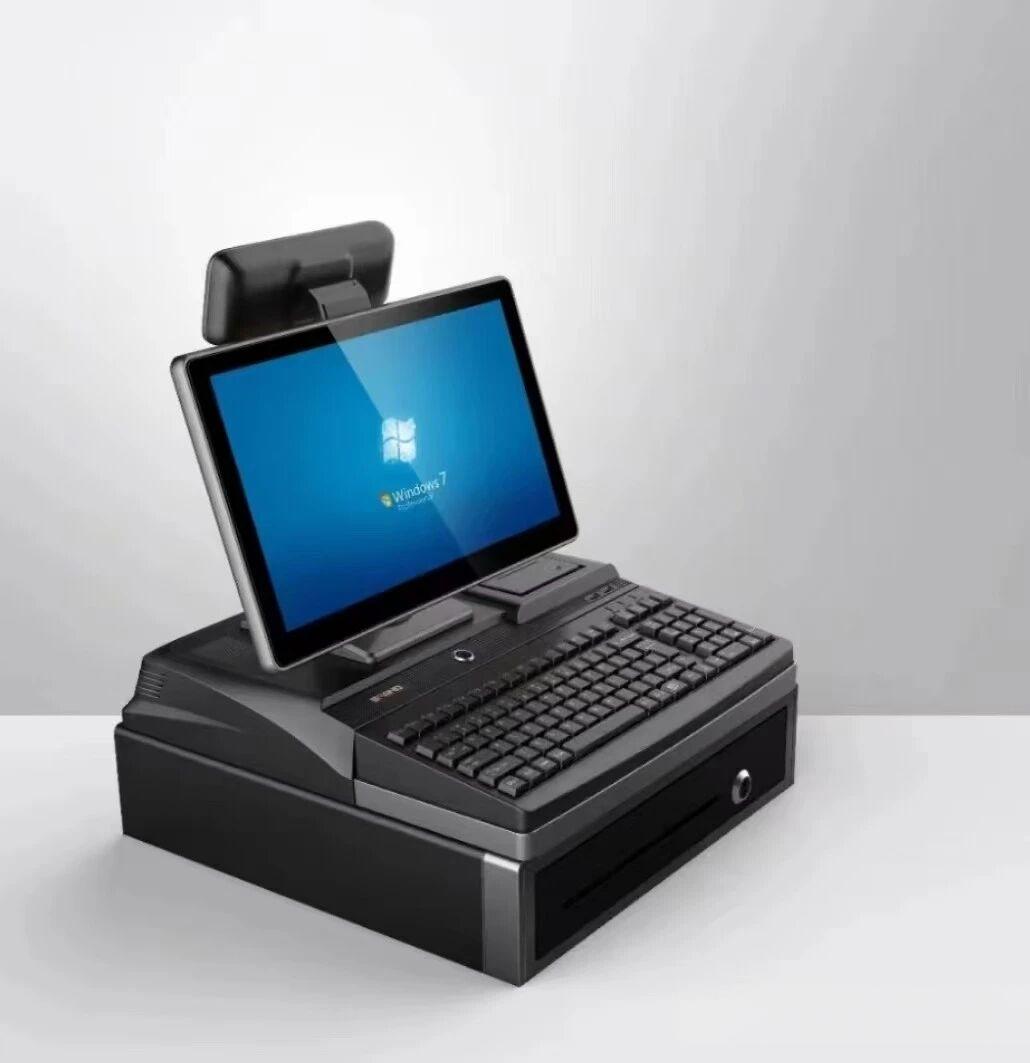
2. Peripheral Device Mapping: In POS hardware settings, configure printer driver ports, customer display baud rates, and cash drawer kick codes.
3. Staff User Accounts: Set up individual logins and role-based permissions for cashiers and managers, and change default administrator passwords.
4. Product Catalog Archiving: Import product master data (barcodes, descriptions, prices, categories, inventory) via Excel batch import templates.
Step 6: End-to-End Mock Checkout Simulations
Before opening to the public, execute comprehensive mock transactions:
Scan multiple sample products, verify that prices match packaging, test quantity multipliers, tender test cash payments, confirm that the cash drawer kicks open, verify that receipts print legibly, and verify that customer displays mirror correct subtotals.
Test line-item voids, customer refunds, and execute Shift Closure to verify shift reports print accurately. Finally, void all practice transactions to reset sales ledgers for opening day.
Frequently Asked Questions (FAQ)
Why does the receipt printer feed blank paper without printing text? The thermal paper roll is loaded upside down. Open the printer cover, flip the paper roll orientation so the heat-sensitive coating contacts the thermal print head, and reprint.
Why does the scanner beep without inputting digits onto the screen? Check whether the active screen cursor is focused inside the barcode input field, verify USB cable connections, or scan the manufacturer ‘USB HID Keyboard’ reset barcode.
Can multiple POS cash registers share a single database? Yes, by networking registers over local Ethernet to a centralized in-store server or cloud POS database for real-time inventory and sales synchronization.
Conclusion
Setting up a keyboard POS system follows a methodical sequence: physical unboxing, countertop layout, cable routing, peripheral verification, software configuration, and mock checkout simulations. Executing these steps systematically ensures your cash registers operate reliably from day one.
Explore Related Self-Service Kiosks & POS Checkout Terminals
If you are upgrading your retail checkout counter, restaurant ordering flow, or commercial payment terminals, consider our proven hardware solutions:
- All-in-One Telecom Self-Service Payment Terminal for Bill Payment & Top-Up
- Multi-Function Self-Service Payment & Banking Kiosk with Biometric Authentication
- Hospital Patient Self-Service Registration & Ticket Dispensing Kiosk
- 15-Inch Windows Compact Desktop Touch Display for POS & Self-Service Terminals
Need a Custom POS Terminal or Self-Service Kiosk Project Quote?
ZXTLCD provides comprehensive OEM/ODM manufacturing for self-service ordering kiosks, cash registers, touch displays, payment peripherals, barcode scanners, and thermal printer integration.
Deploying a Self-Service Solution?
To elevate customer experience and streamline ordering or ticketing workflows, explore our AI Self Service Terminal with Large Touchscreen or the versatile Self Service Kiosk for Cinema & Ticketing. For custom hardware integrations, discover our complete line of Custom Self-Service Kiosks or consult our engineering team for sample evaluation.