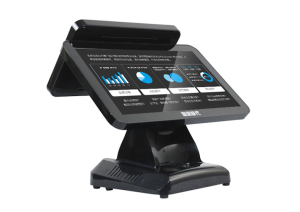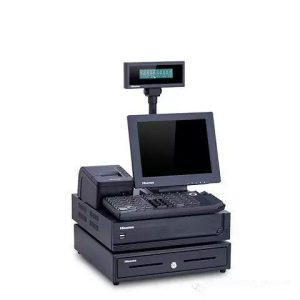
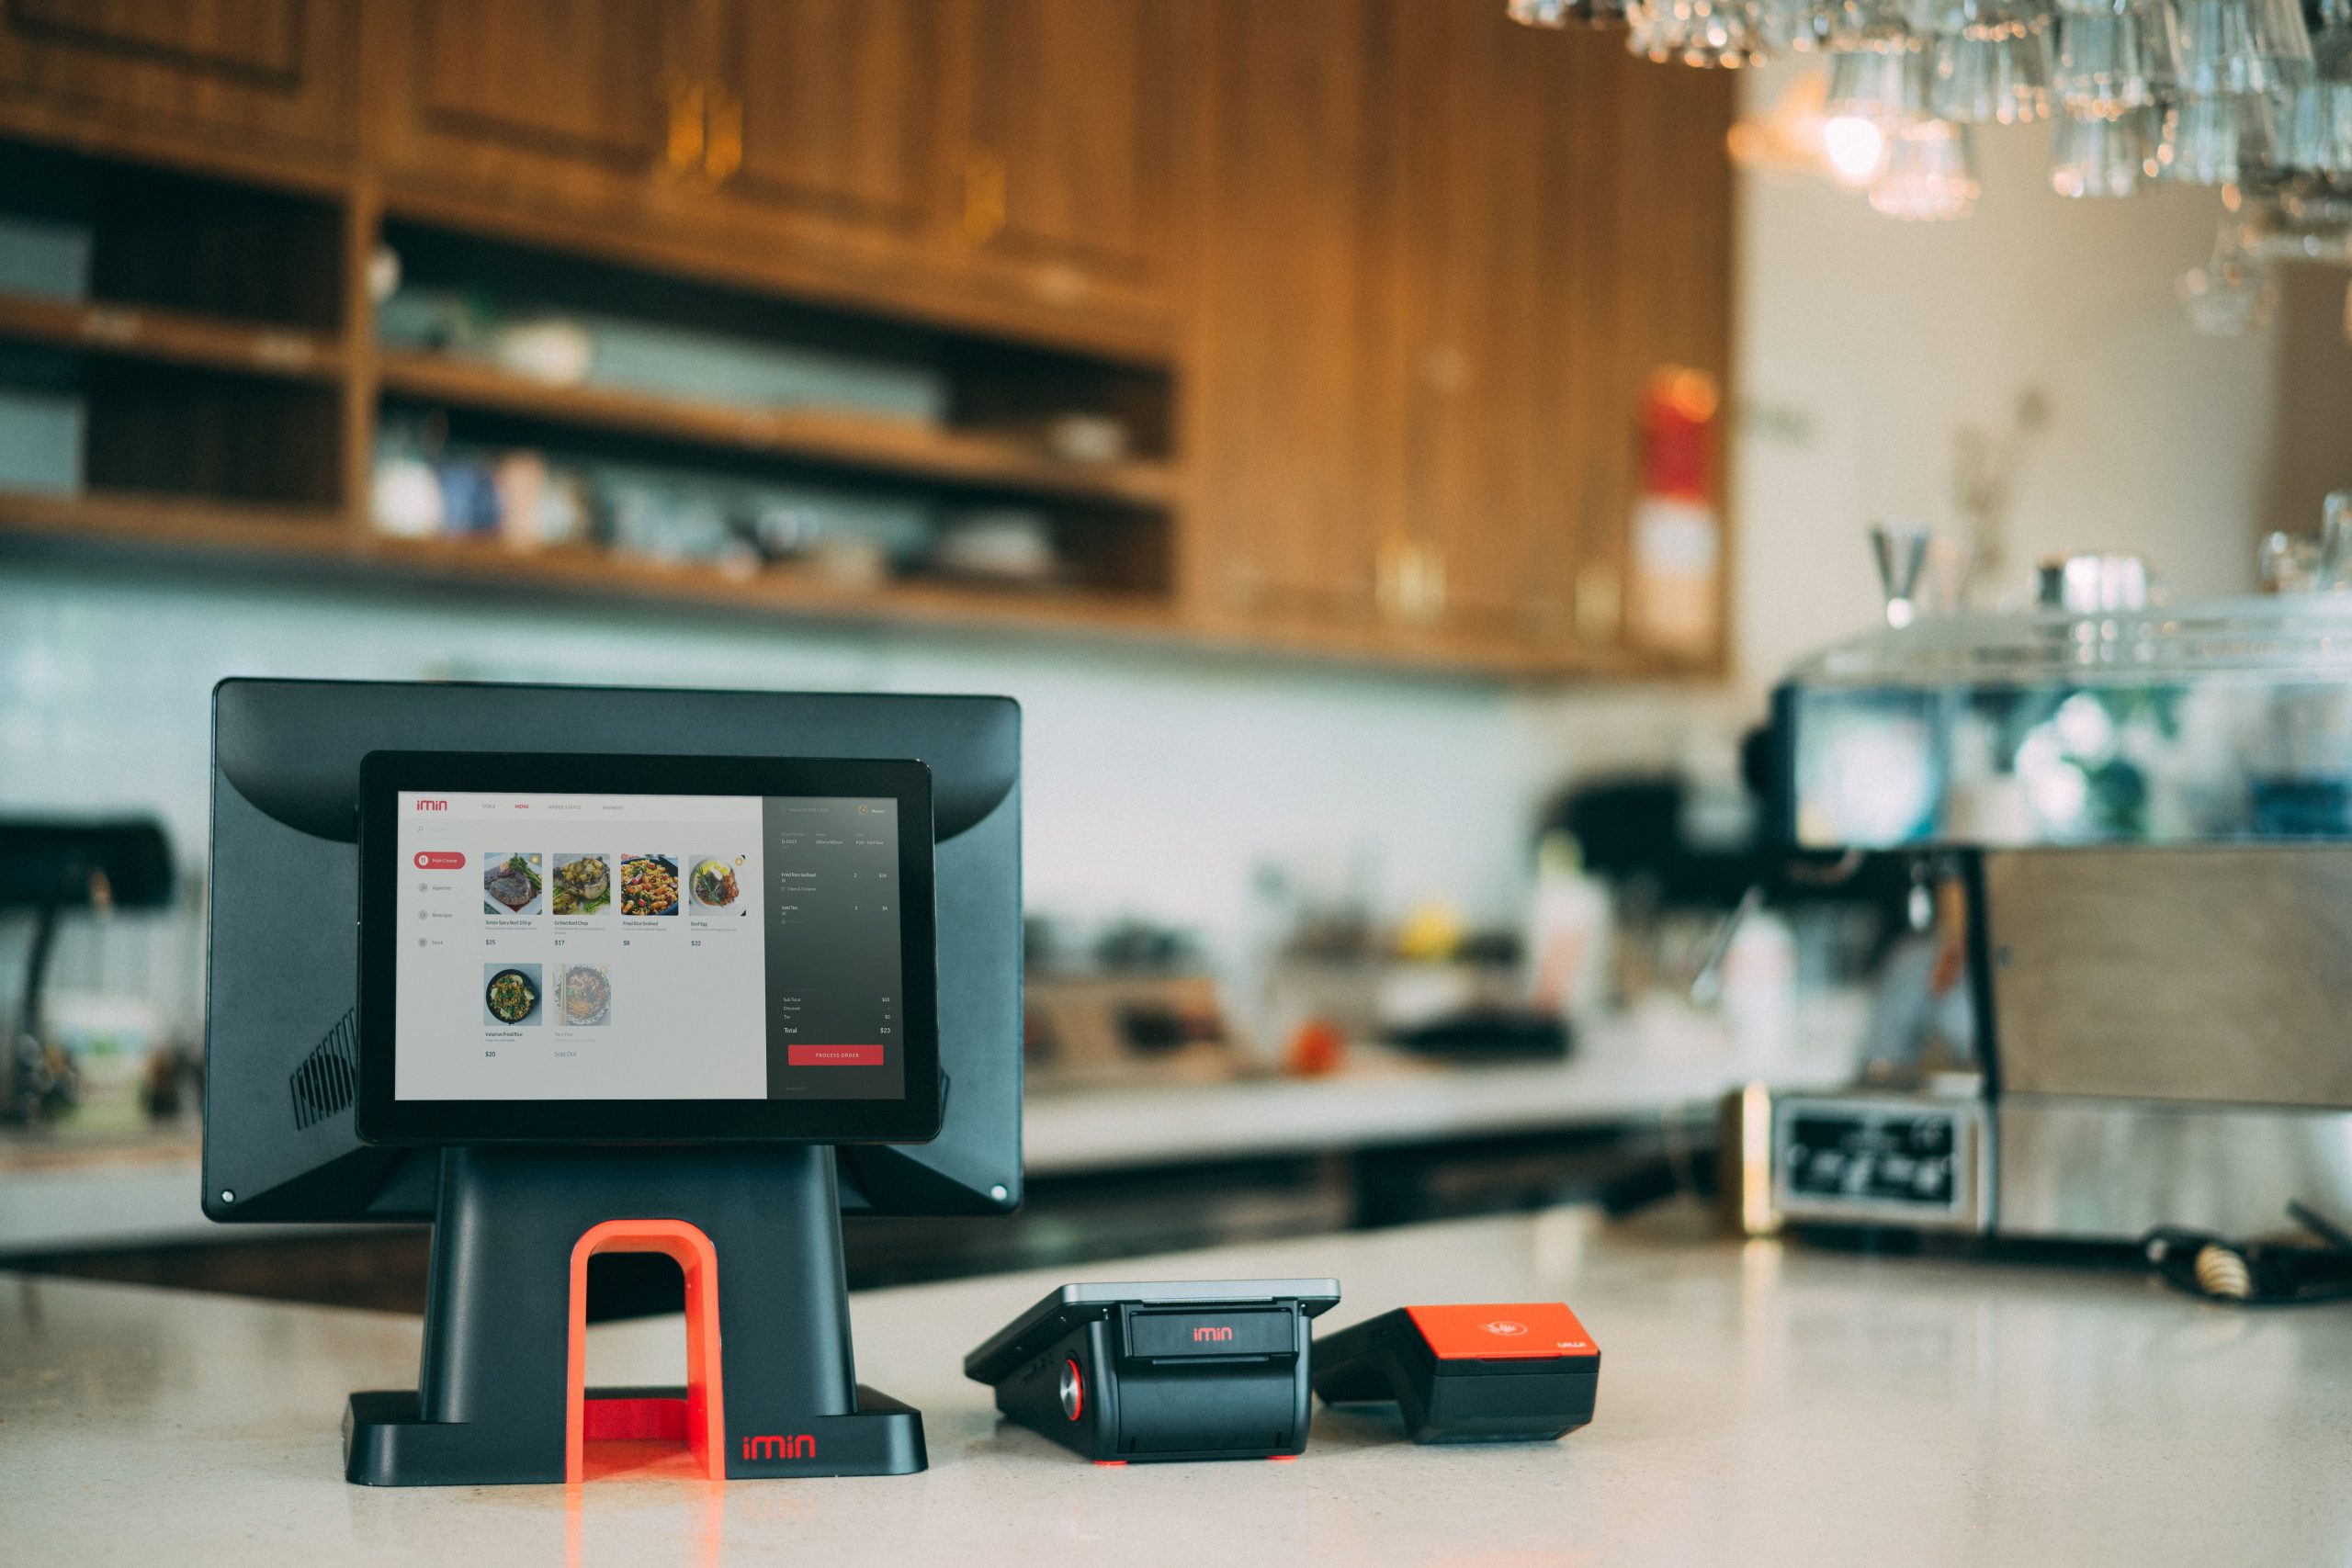
Checking out at a modern supermarket takes just seconds: scan a barcode, see the price on screen, process payment, and print the receipt. While the customer-facing interaction appears effortless, a systematic operational workflow is operating behind the scenes. For new retail business owners and newly onboarded cashiers, mastering this operational sequence and keyboard functions accelerates checkout speed while drastically reducing errors.
Part 1: The Core Operational POS Workflow
Step 1: Every SKU Must Carry a Unique Product Code
POS systems identify merchandise via encoded product IDs. Commercially manufactured goods feature standard barcodes printed on their packaging—acting as the item’s digital ‘national ID.’ Encoded according to universal standards (such as EAN-13 or UPC), each barcode maps exclusively to a specific SKU, preventing duplicate entries.
This uniqueness is fundamental: if codes duplicate, the system conflates distinct products, scrambling pricing, inventory counts, and financial auditing. For items without manufacturer barcodes—such as bulk produce, weighed goods, or in-house bakery items—retailers must generate non-duplicating internal PLU (Price Look-Up) codes.
Step 2: Archiving Product Master Data in the POS Database
Once codes are assigned, product profiles must be entered into the POS backend. Beyond the barcode, records include item name, retail price, wholesale cost, and starting stock. Precise initial data entry saves enormous labor during subsequent checkouts and reconciliation.
Ensure naming conventions are consistent, retail prices are verified, and inventory costs are maintained diligently. While initial database archiving requires effort, it serves as the foundation for long-term operations.
Step 3: Point-of-Sale Scanning and Automated Calculation
During customer checkout, the cashier scans the barcode or inputs the PLU code; the system queries the database, displays the product title and price on screen, and adds it to the running subtotal. Once all items are scanned, the system computes the grand total, processes customer payment, and triggers the receipt printer to complete the transaction.
Crucially, prices are fetched automatically from the database rather than manually keyed in by cashiers, ensuring rapid throughput, pricing accuracy, and error-free auditing.
Step 4: Automatic Transaction Data Archiving
Every completed sales transaction is archived in the database. Store managers can generate real-time reports: daily turnover, SKU-level sales velocity, remaining inventory levels, top-selling items, and restocking alerts. This eliminates manual ledger bookkeeping and avoids waiting for month-end physical counts to understand business performance.
Step 5: Customer Loyalty Rewards and Promotional Engine
Modern POS systems link transactions to customer loyalty cards or mobile numbers, tracking purchase history and accumulating reward points. The system also automates promotional pricing rules (discounts, tiered bundles, coupons, buy-one-get-one deals). This simplifies loyalty management while driving repeat visits.
Part 2: Dedicated POS Keyboard Function Key Guide
Many supermarket checkout stations utilize specialized POS matrix keyboards. Below is an overview of standard operational keys. Note that specific key labels and layouts vary across POS hardware and software vendors; consult your equipment manual for exact configurations.
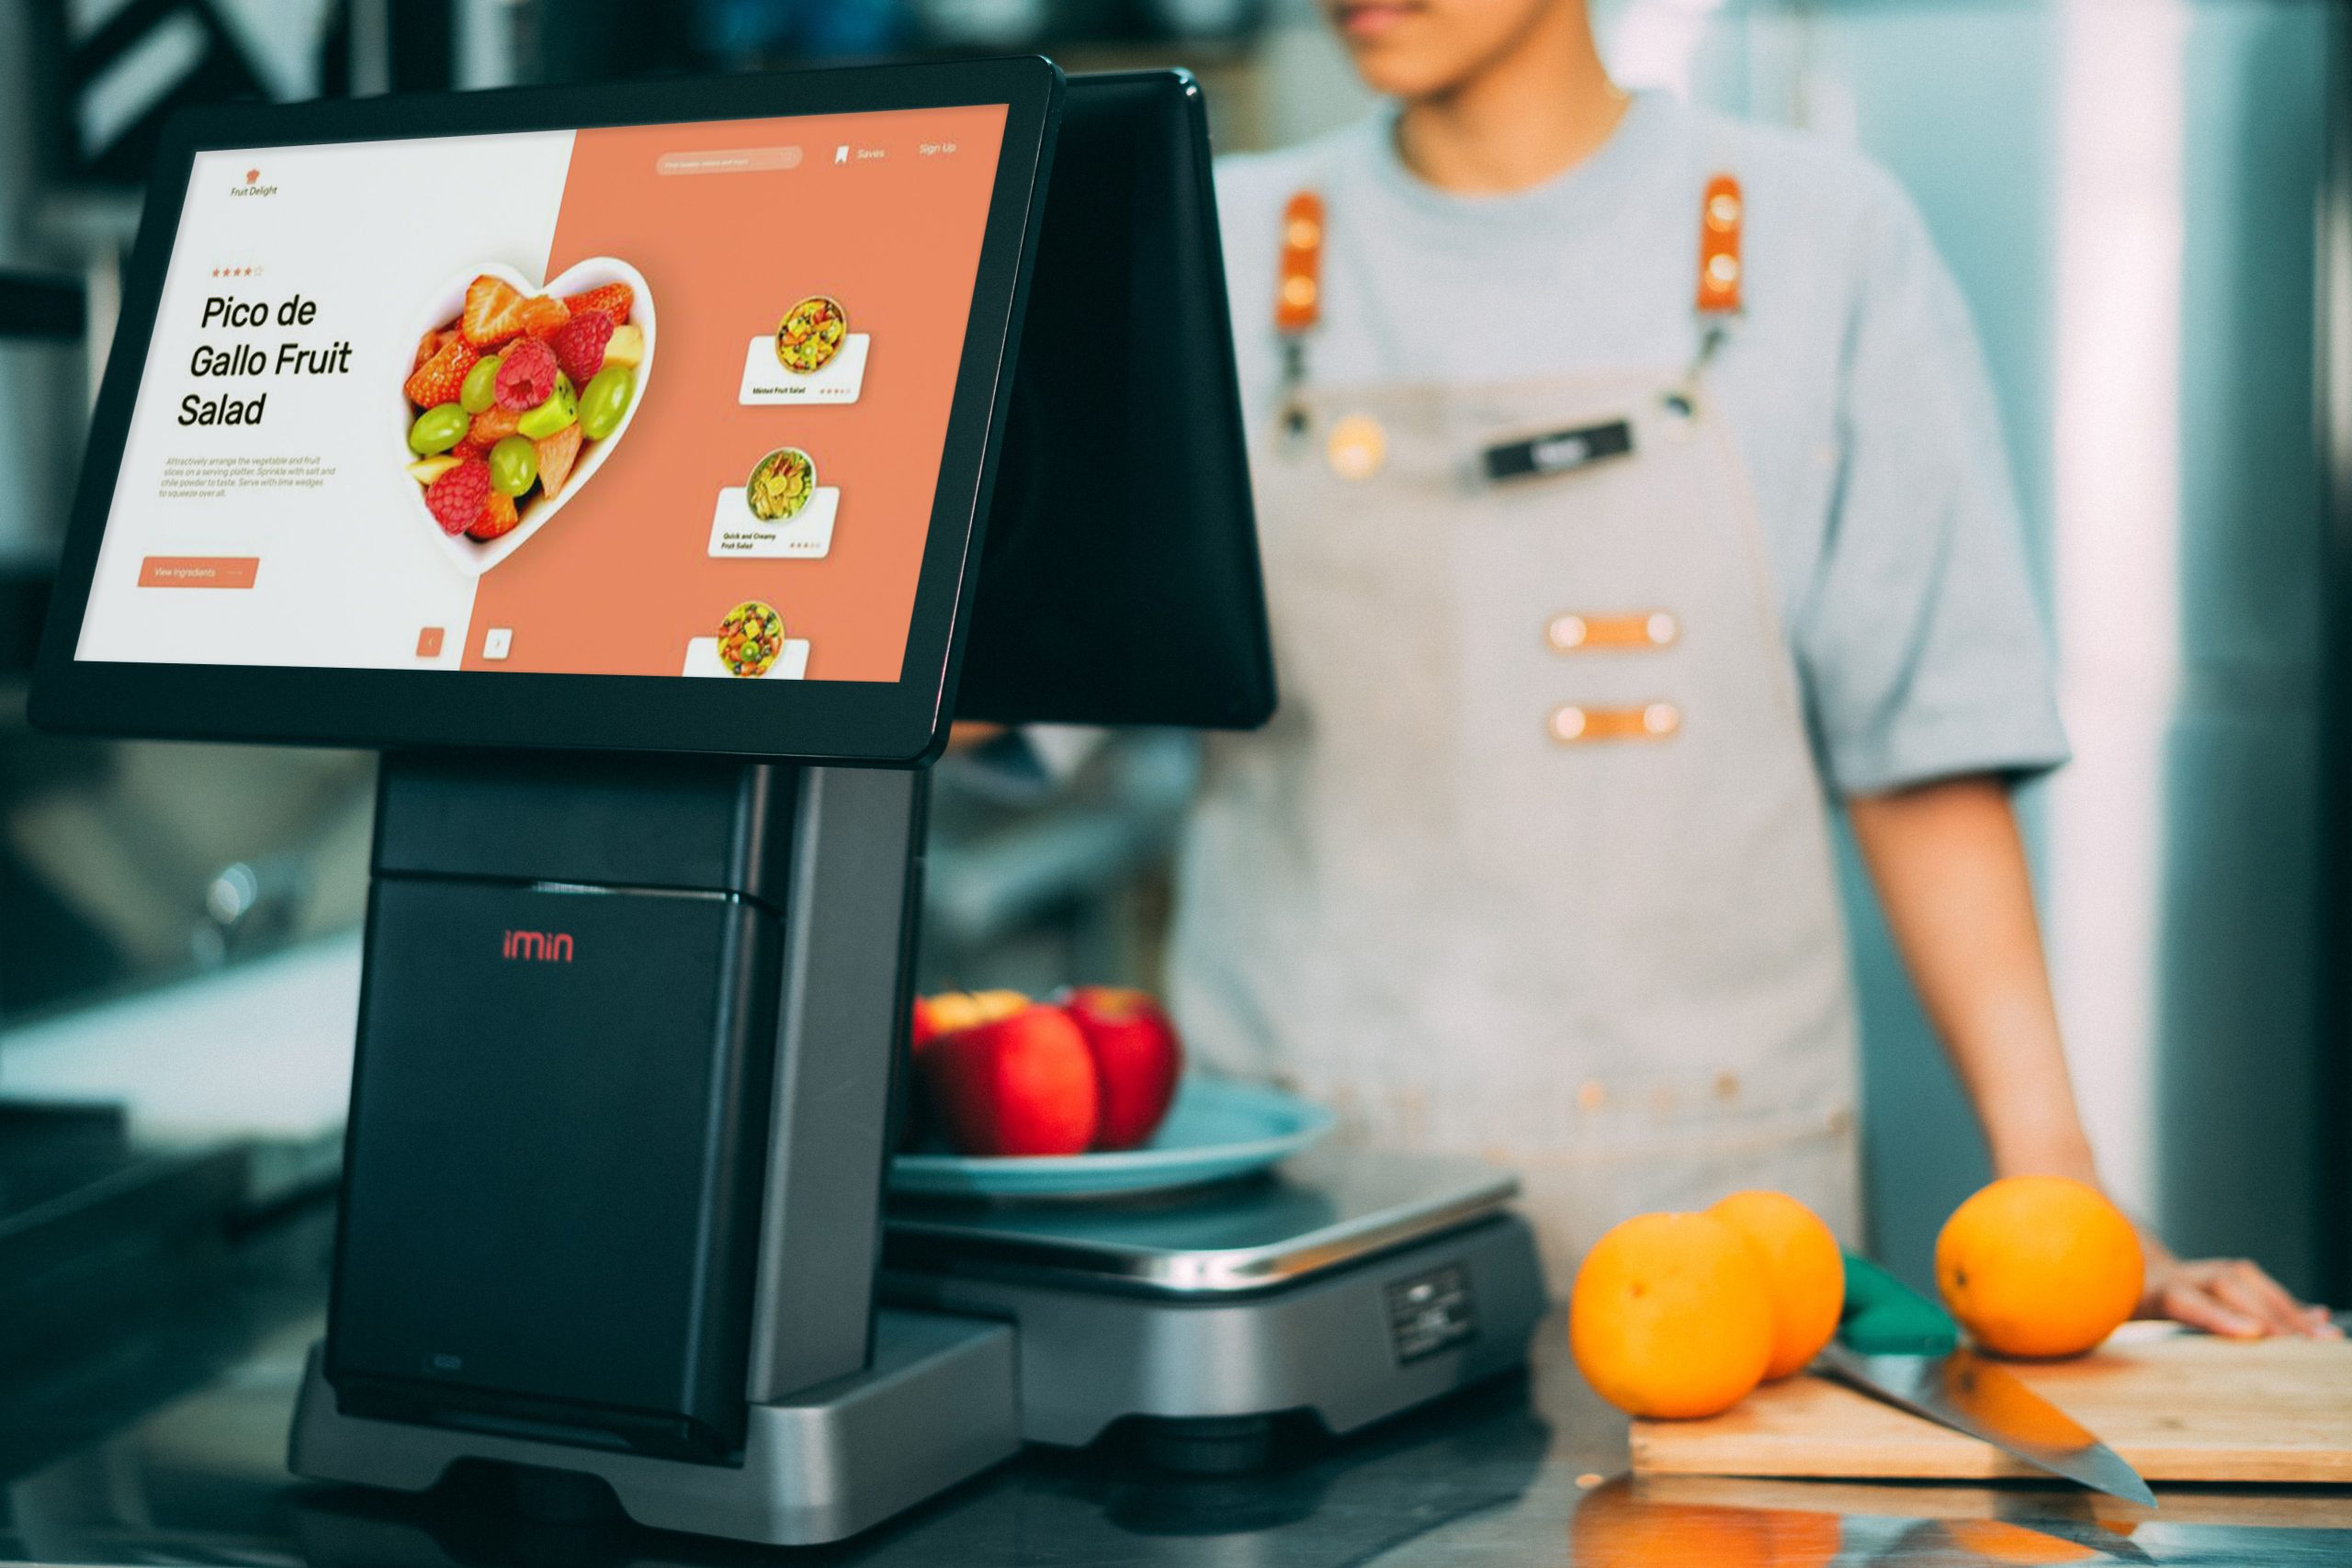
Data Entry Keys
Price Query Key (Inquiry): Used to look up product pricing when customers inquire, checking prices without opening an active sales transaction.
Scale / Weigh Key: Used when selling weighed produce, reading weight data directly from an integrated electronic balance.
Quantity Key (QTY): The system defaults to a quantity of 1 per scan. For multi-item purchases of the same SKU, input the quantity number first, press the Quantity key, and then scan the barcode. Never reverse this sequence to avoid quantity miscalculations.
Repeat Previous Key: Duplicates the preceding line item. For example, after scanning 5 bottles of a beverage, pressing this key instantly adds another 5 bottles. This function operates only during active transactions and repeats strictly the preceding operation, ideal for high-volume identical items.
Confirmation and Subtotal Keys
Enter Key: Confirms active commands and data inputs.
Subtotal Key: Transmits the current order sum to the customer-facing display (VFD/LED pole display), allowing shoppers to verify running costs and aiding cashiers in stating subtotals.
Total / Tender Key: Pressed when all merchandise has been scanned, concluding item entry and transitioning the system to the payment tender interface.
Modification and Cancellation Keys
Cancel Key: Cancels current operations or exits tender menus.
Void Item (Item Cancel): Cancels a specific line item already entered. Press the Void Item key, navigate using Up/Down arrow keys to highlight the target product, press Void Item again to trigger a confirmation prompt (‘Confirm cancellation?’), and press Enter to execute. The dual confirmation safeguards against accidental deletions.
Clear Key: Erases typographical errors before pressing Enter. For example, if ’39’ was mistakenly typed instead of ’29’, pressing Clear wipes the numeric input buffer. Once Enter has been pressed, Clear is inactive and the Void Item key must be used.
Navigation and Selection Keys
Page Up, Page Down, Line Up, Line Down: Used to scroll through on-screen product lists, navigate menu options, and highlight target entries.
Payment Tender Keys
Cash Key: For cash transactions, enter the currency amount tendered by the customer and press Cash; the system automatically calculates change due and opens the cash drawer.
Gift Voucher / Coupon Key: For vouchers, press the voucher key without manual numeric entry.
Check Key: Processes commercial checks, similarly without manual amount entry.
Bank Card / Credit Card Key: For card terminals, press the card key to initiate payment processing.
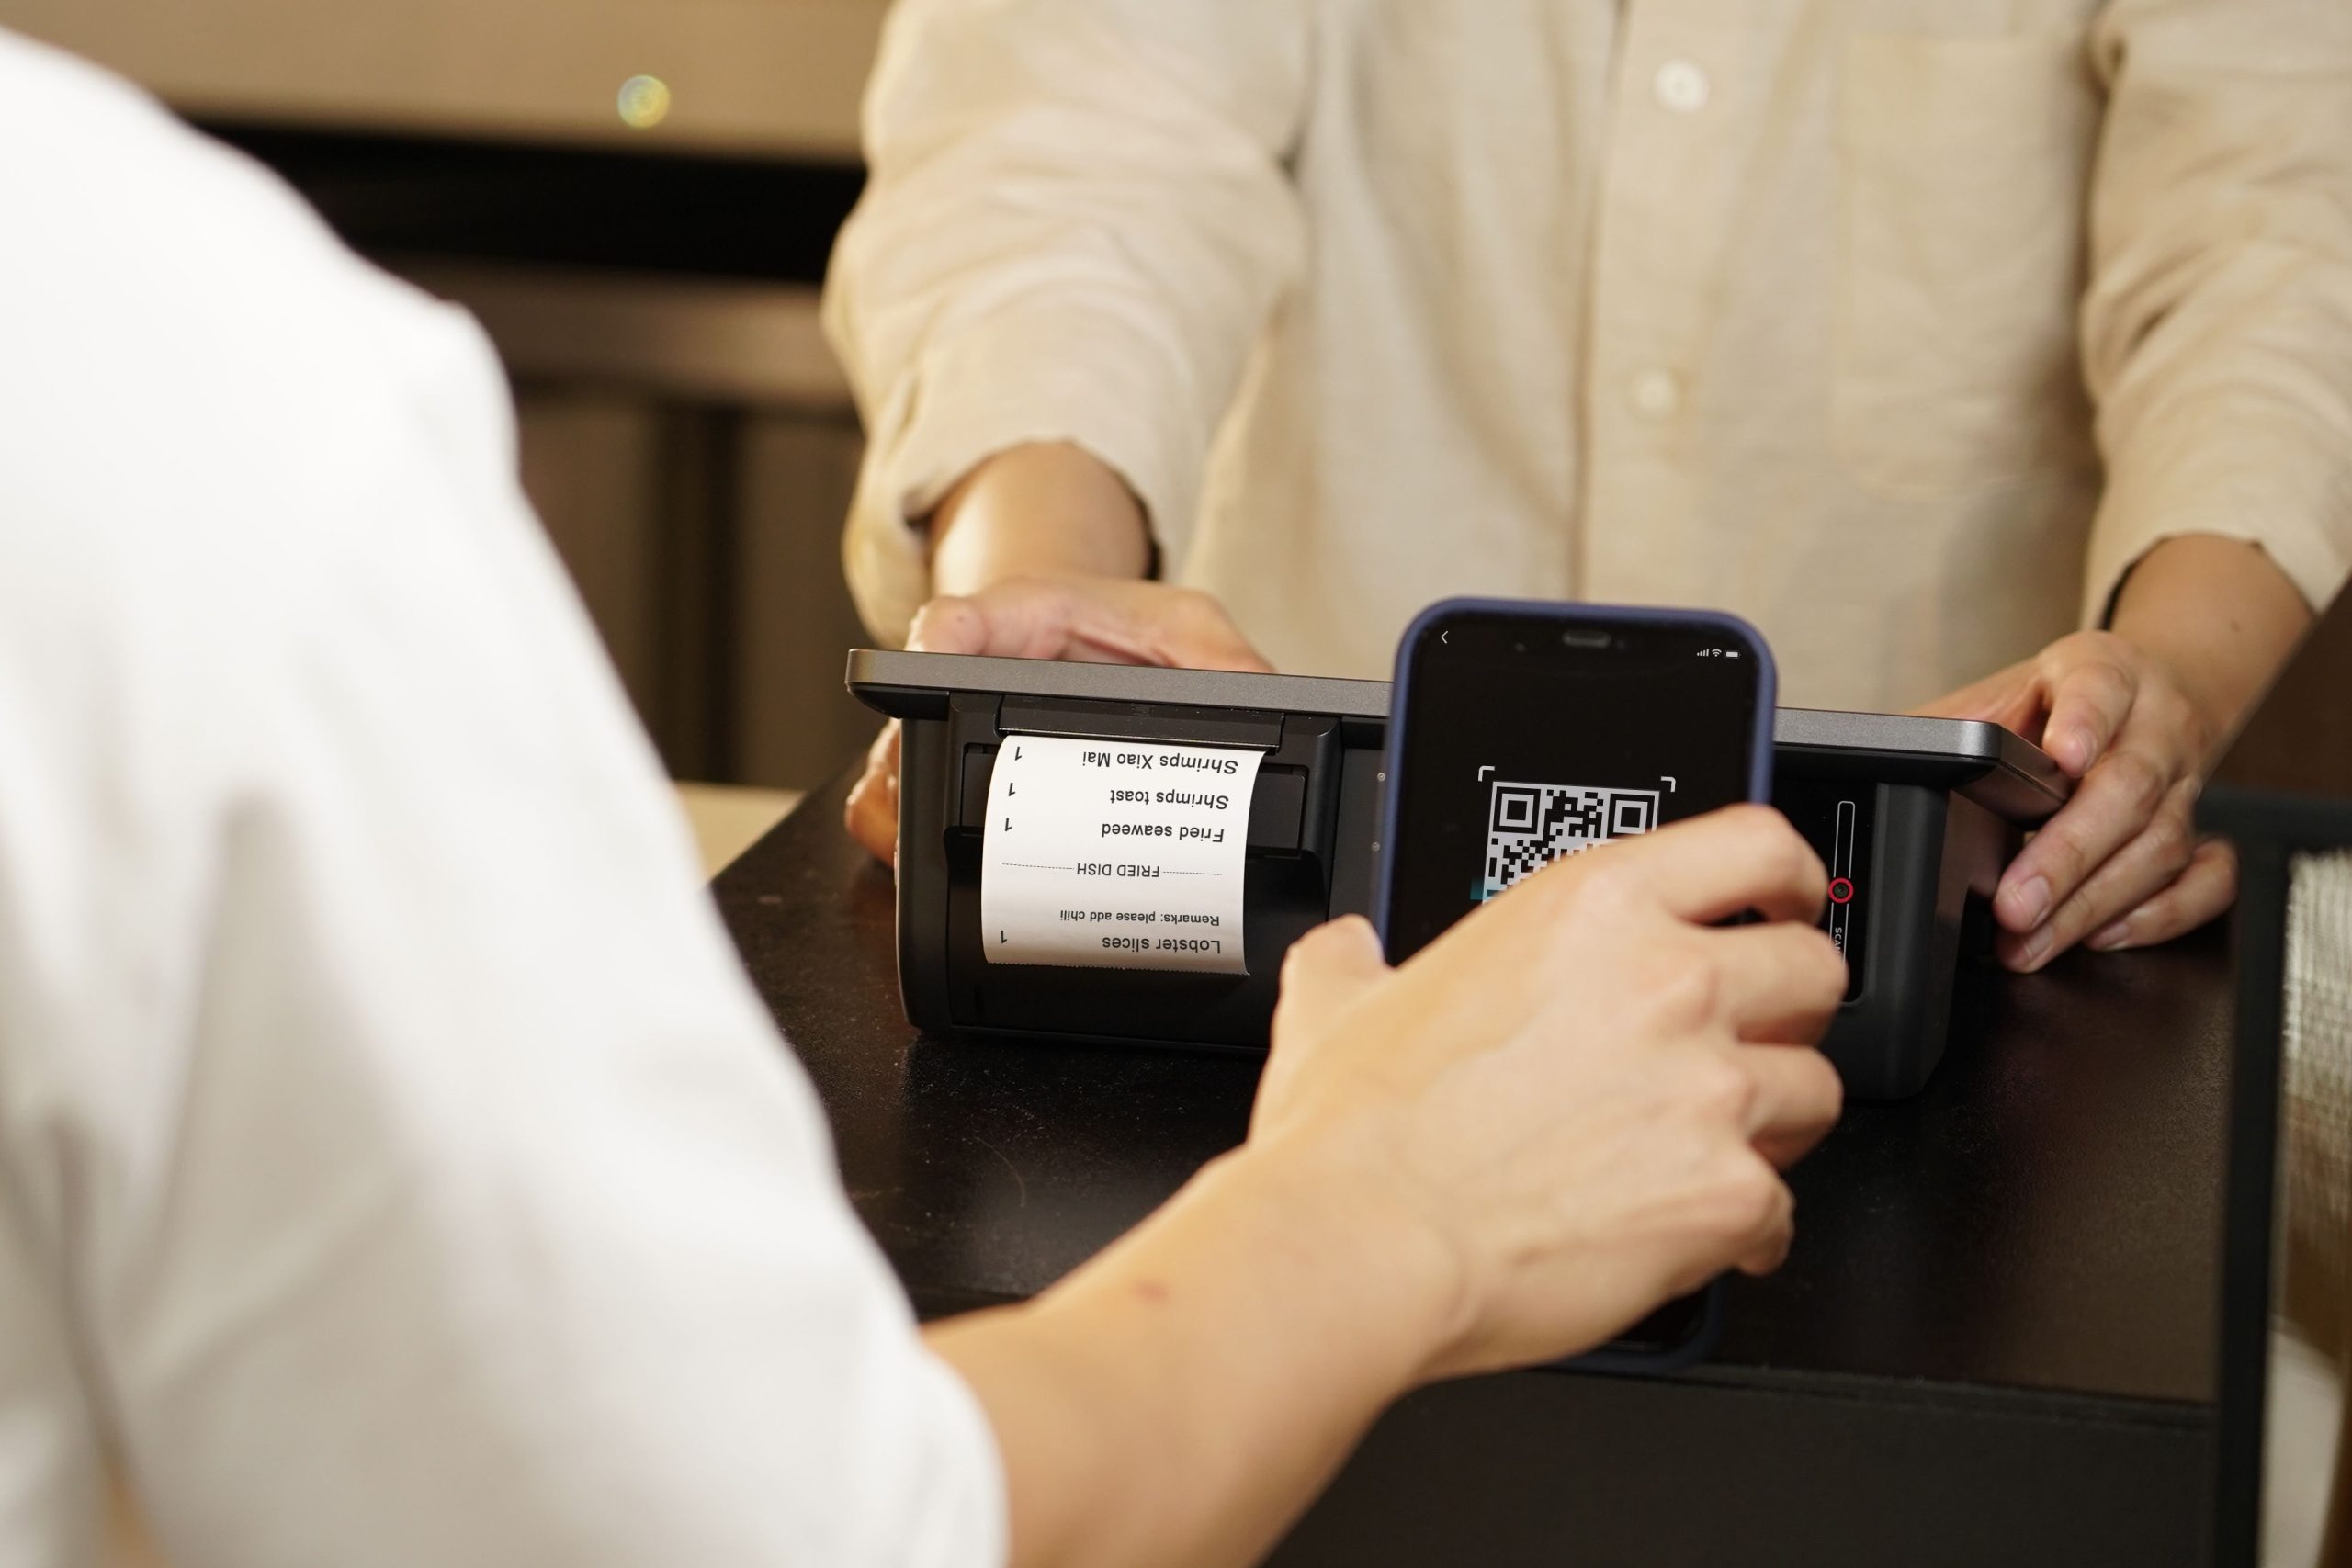
Mobile QR Payment (Alipay, WeChat Pay, Apple Pay): Handled either via a dedicated scanner trigger or through software menu selection, depending on your system setup.
Shift and Cashier Authentication Keys
Sign-In (Clock-In) and Sign-Out (Clock-Out) Keys: Log cashier IDs and shift timestamps, vital for shift handoffs, drawer balancing, and cash auditing.
Operational Best Practices
Master the Quantity and Repeat keys: these two shortcut keys deliver the greatest throughput gains during peak checkout rushes.
Distinguish Clear from Void Item: use Clear before pressing Enter, and Void Item after an item has entered the transaction record.
Follow correct payment tender order: input cash amounts before pressing the Cash key; do not enter amounts for automated card or voucher keys.
Before new cashiers manage live registers, run mock transactions with practice SKUs to ensure fluency and prevent customer-facing errors.
Frequently Asked Questions (FAQ)
What if an item lacks a standard manufacturer barcode? Assign an internal unique PLU code, print an internal barcode label, or look up the item manually via touchscreen menus. Ensure internal codes do not conflict with existing SKUs.
How do cashiers correct an erroneous quantity input? Before pressing Enter, press Clear to re-enter. If the transaction line has already been committed, use Void Item to remove the line and re-enter the correct count.
Are POS keyboard layouts identical across all brands? Not identical. Physical key arrangements, labels, and shortcuts vary by hardware vendor and POS software. Consult your manufacturer manual for exact key mapping.
Is learning physical POS keyboards still relevant with touchscreen systems? Modern retail increasingly deploys touchscreens, where physical keys are replaced by on-screen software buttons. However, the underlying transactional logic remains identical; mastering these principles ensures rapid proficiency across any POS platform.
Conclusion
The core of supermarket checkout centers on five steps: unique coding, master data archiving, barcode scanning, data recording, and loyalty promotions. POS keyboard function keys serve as high-efficiency tools designed to accelerate throughput and prevent errors along this pipeline. Mastering these workflows ensures smooth new store launches and confident cashier onboarding.
Explore Related Self-Service Kiosks & POS Checkout Terminals
If you are upgrading your retail checkout counter, restaurant ordering flow, or commercial payment terminals, consider our proven hardware solutions:
- All-in-One Telecom Self-Service Payment Terminal for Bill Payment & Top-Up
- Multi-Function Self-Service Payment & Banking Kiosk with Biometric Authentication
- Hospital Patient Self-Service Registration & Ticket Dispensing Kiosk
- 15-Inch Windows Compact Desktop Touch Display for POS & Self-Service Terminals
Need a Custom POS Terminal or Self-Service Kiosk Project Quote?
ZXTLCD provides comprehensive OEM/ODM manufacturing for self-service ordering kiosks, cash registers, touch displays, payment peripherals, barcode scanners, and thermal printer integration.
Deploying a Self-Service Solution?
To elevate customer experience and streamline ordering or ticketing workflows, explore our AI Self Service Terminal with Large Touchscreen or the versatile Self Service Kiosk for Cinema & Ticketing. For custom hardware integrations, discover our complete line of Custom Self-Service Kiosks or consult our engineering team for sample evaluation.