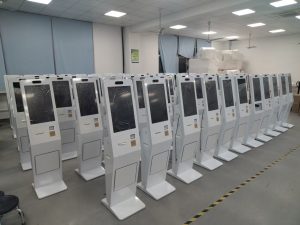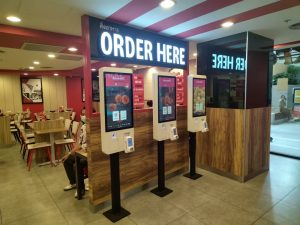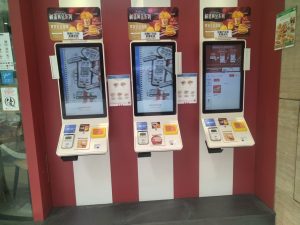
Large self-checkout terminals and ordering kiosks are now common in restaurants, shopping centers and retail locations. When a unit suddenly fails to start, the disruption is immediate: guests cannot order, staff must redirect traffic and the counter may become congested. Effective diagnosis begins with a safe sequence that separates an external power problem from a display, internal hardware or operating-system fault.
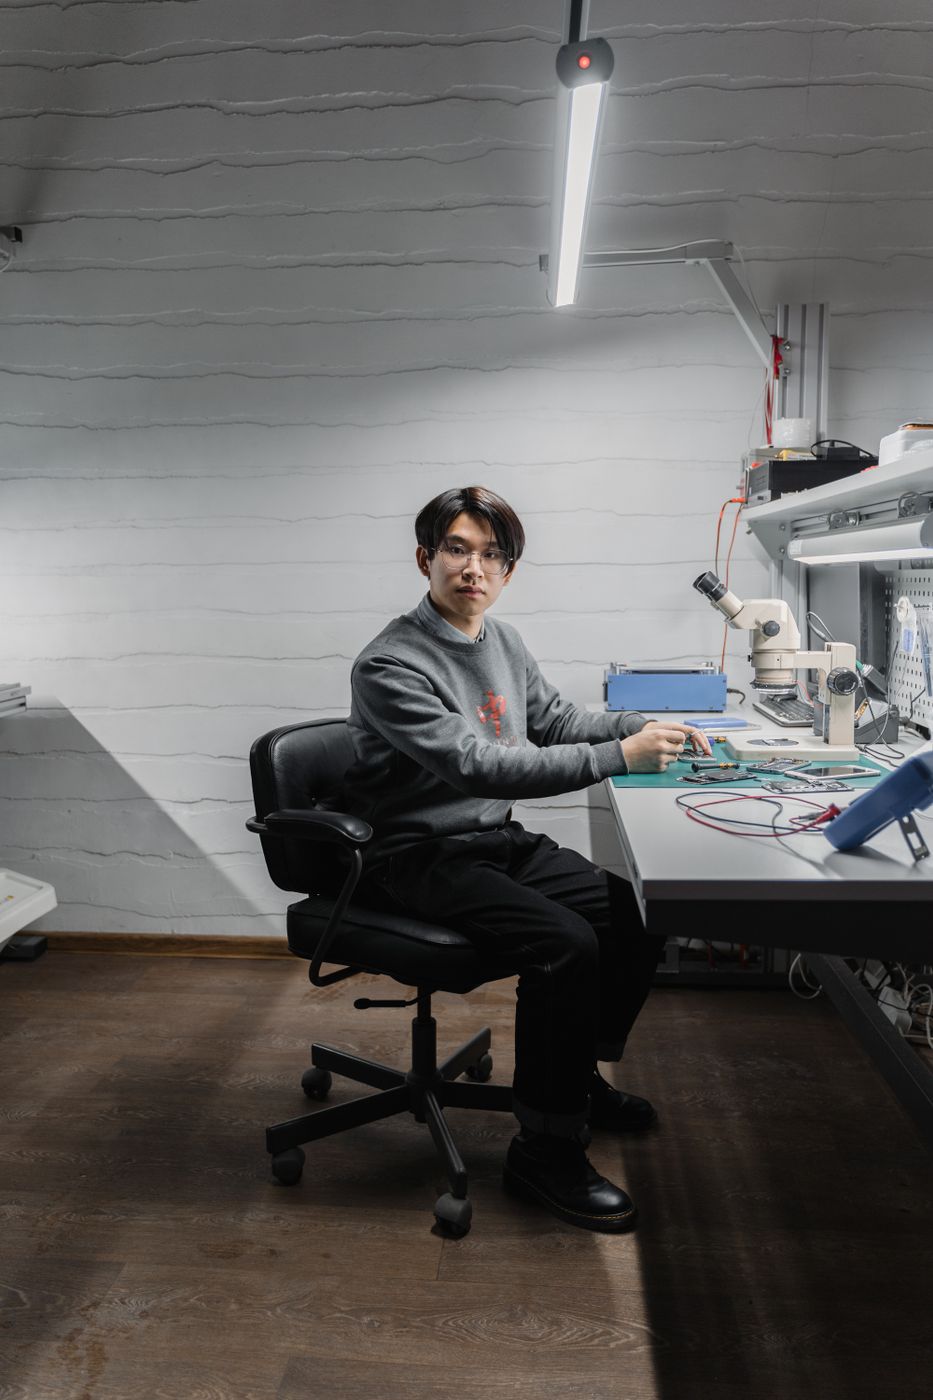
Self ordering kiosk troubleshooting should never begin with repeated power cycling or random part replacement. Store employees can inspect the outlet, power cord, external switch and adapter indicator. Any work involving an internal power board, mainboard, backlight board or cable connection should be completed by trained technical personnel after the unit has been disconnected from power.
Start with the external power path
Check that both ends of the power cable are fully seated. Test the wall outlet with another known working appliance, and inspect any power strip or surge protector between the outlet and the kiosk. Some all-in-one units have a main switch in addition to the front power button, and that switch may be located on the rear panel or inside a protected service area.
If the device uses an external adapter, observe its status light. A dark indicator can point to a failed outlet, damaged cable or defective adapter. Replace an adapter only after confirming the required voltage, current, polarity and connector. Two adapters may look identical while delivering different electrical output, so visual similarity is not enough. This first self ordering kiosk troubleshooting stage should establish whether power is reaching the machine correctly.
Use indicator behavior to narrow the fault
The combination of indicator lights can help define the next check. If the adapter light is on but the barcode scanner and other low-voltage devices remain dark, the fault may be in the internal power path, power board or mainboard. If the scanner lights and produces its normal startup sound while the display remains black, the unit may have started without a working image.
A black display does not automatically prove that the screen is damaged. The technician should determine whether the operating system is running and then inspect the display power, signal cable and backlight circuit. The original source suggests a power-board fault in the first indicator pattern and a backlight-board fault in the second, but these are diagnostic clues rather than final conclusions. Measurements and cable checks should come before replacing a board.
Inspect internal connections only after isolation
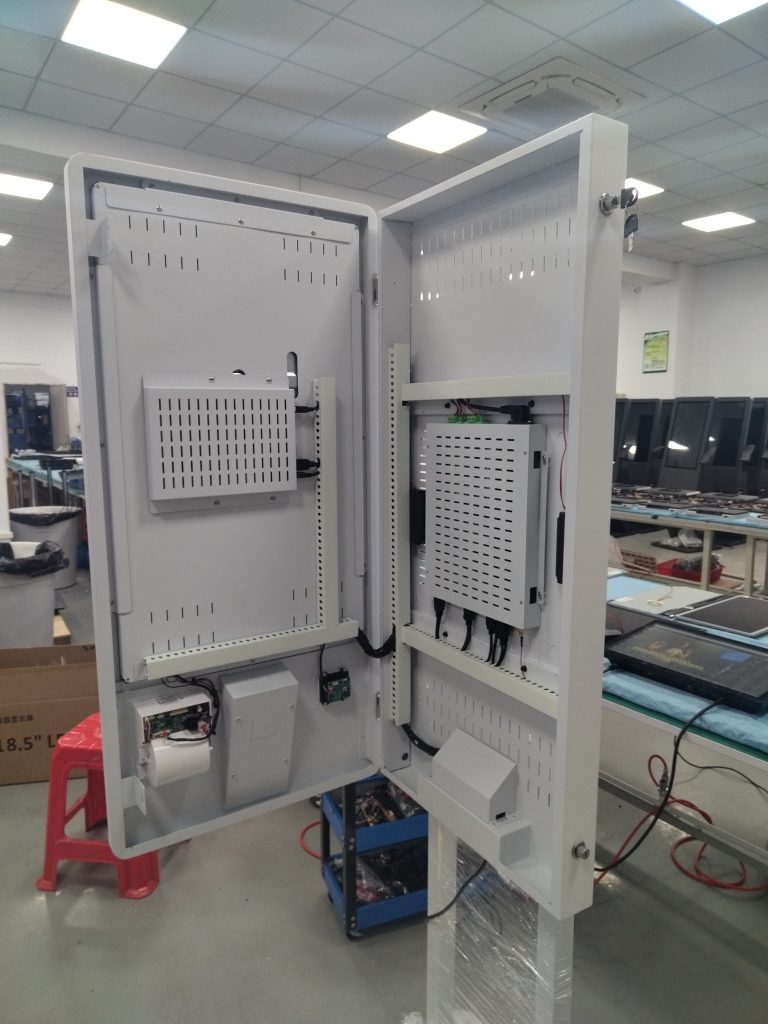
Transport, movement and long-term vibration can loosen internal connectors. Before opening the housing, shut down the kiosk, unplug it and allow stored electrical energy to discharge. A trained technician can then check the connections to the mainboard, storage device, memory and display module, following the maintenance manual for the specific model.
During self ordering kiosk troubleshooting, scorch marks, discoloration, melted insulation or an unusual smell are reasons to stop. Do not reconnect power simply to see whether the symptom repeats. Damaged parts should be assessed and replaced by qualified personnel using components that match the device specification.
Separate a software failure from a no-power condition
A kiosk may receive power but fail during system startup. If the screen shows a logo, error message or recovery prompt, the problem is different from a complete no-power condition. Follow the device documentation to enter safe mode or the recovery environment, because the required key and timing vary among mainboards and operating systems.
Use the built-in repair tools before considering a full system reinstall. If reinstallation is required, back up order settings, device drivers and other important data whenever the system still allows access. Confirm that the recovery image matches the installed hardware and peripherals. Software recovery should be documented so the same configuration can be restored after future service.
Check heat moisture and dust exposure
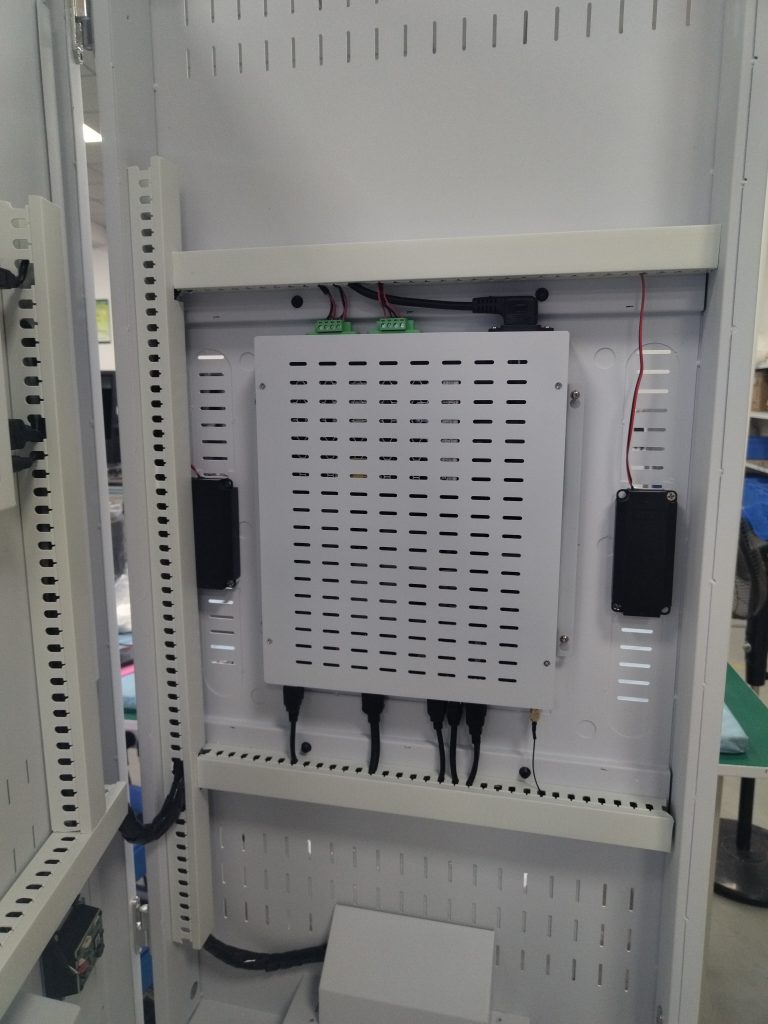
Operating conditions have a direct effect on reliability. Blocked vents and dust buildup restrict airflow, while high temperature and humidity can accelerate electrical and mechanical problems. Routine care should include cleaning the display and ventilation area, checking cable security, listening for abnormal fan noise and recording the timing of intermittent restarts or black screens.
Good records improve self ordering kiosk troubleshooting because they show whether a fault appears after several hours of operation, during humid weather or when a certain peripheral is active. A technician can use that pattern to test the most likely subsystem instead of replacing parts without evidence.
Prepare useful information for technical support
If the kiosk still will not start, contact the equipment supplier or service team. Provide the model, time of failure, adapter and peripheral indicator status, any display message, unusual sound or smell, and the steps already completed. Photos or a short video of the indicators can also help when the supplier requests them.
A disciplined self ordering kiosk troubleshooting process protects staff, limits unnecessary component changes and reduces recovery time. The order is straightforward: verify external power, interpret indicators, isolate the unit before internal checks, distinguish software startup failure from loss of power, and escalate when the evidence points to a component-level repair.
Explore related configurations in the self-service kiosk product range.